Controls

The Controls menu is located on the right side of the navigation bar. These options are available in both Dashboards and Code Studios.
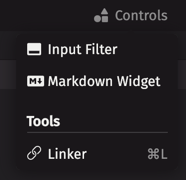
Input Filter
The Input Filter is similar to the OneClick feature in Deephaven classic, however, rather than pairing the Input Filter with one or more panels, your specified filter will be applied to all tables in your workspace.
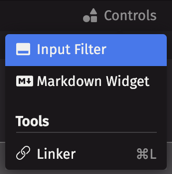
Select Input Filter from the Controls menu. An Input Filter panel will be added to your workspace as shown:
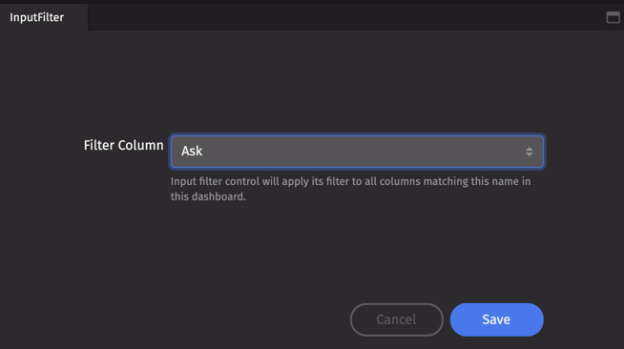
Once you choose a Filter Column from the drop-down list in the panel, the panel will prompt you to enter a value. The filter statement options available in Quick Filters are based on the data types in each column being filtered. (Please refer to the Quick Filter Statement Options in the Appendix for a complete list.) The Sym column has been chosen in the following examples:
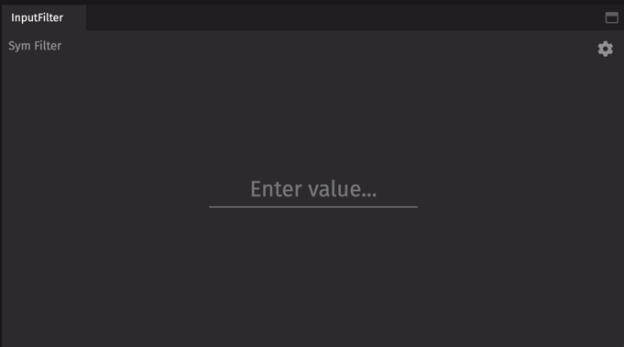
Once a value is entered, the filter will be immediately applied to your workspace.
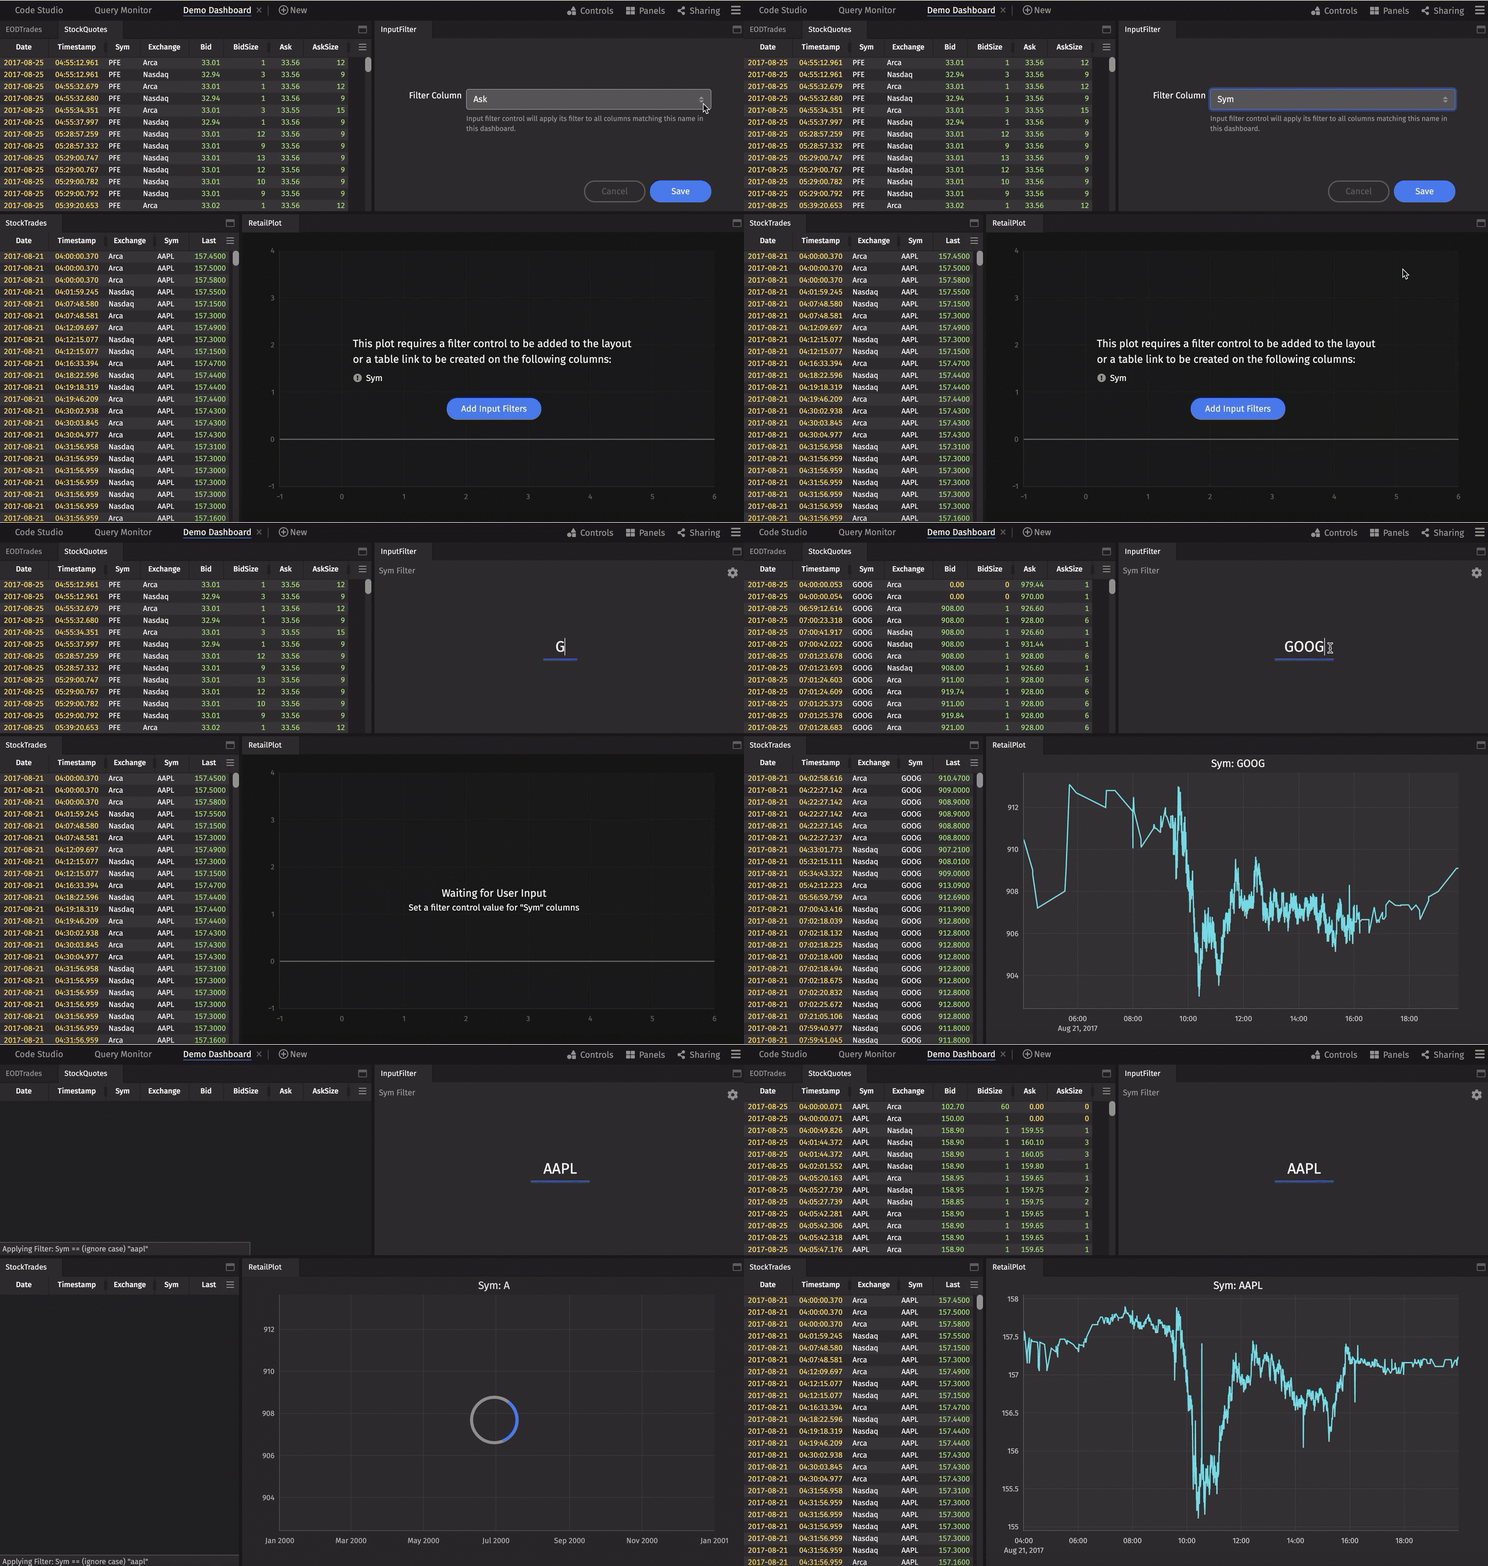
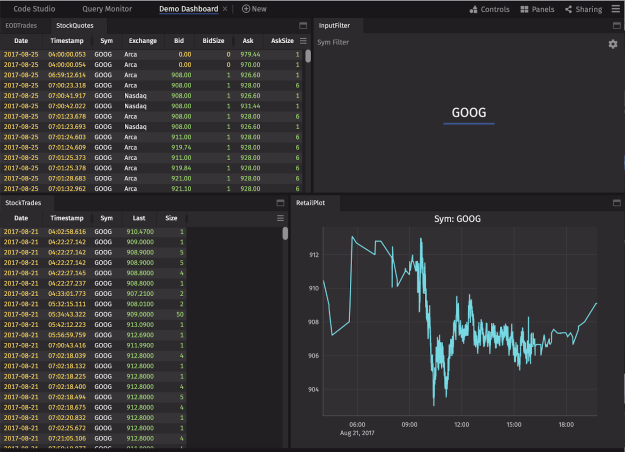
Note that Input Filters will only work on OneClick plots, which must be configured using the appropriate plotting methods.
To learn more, see: Plotting with OneClick.
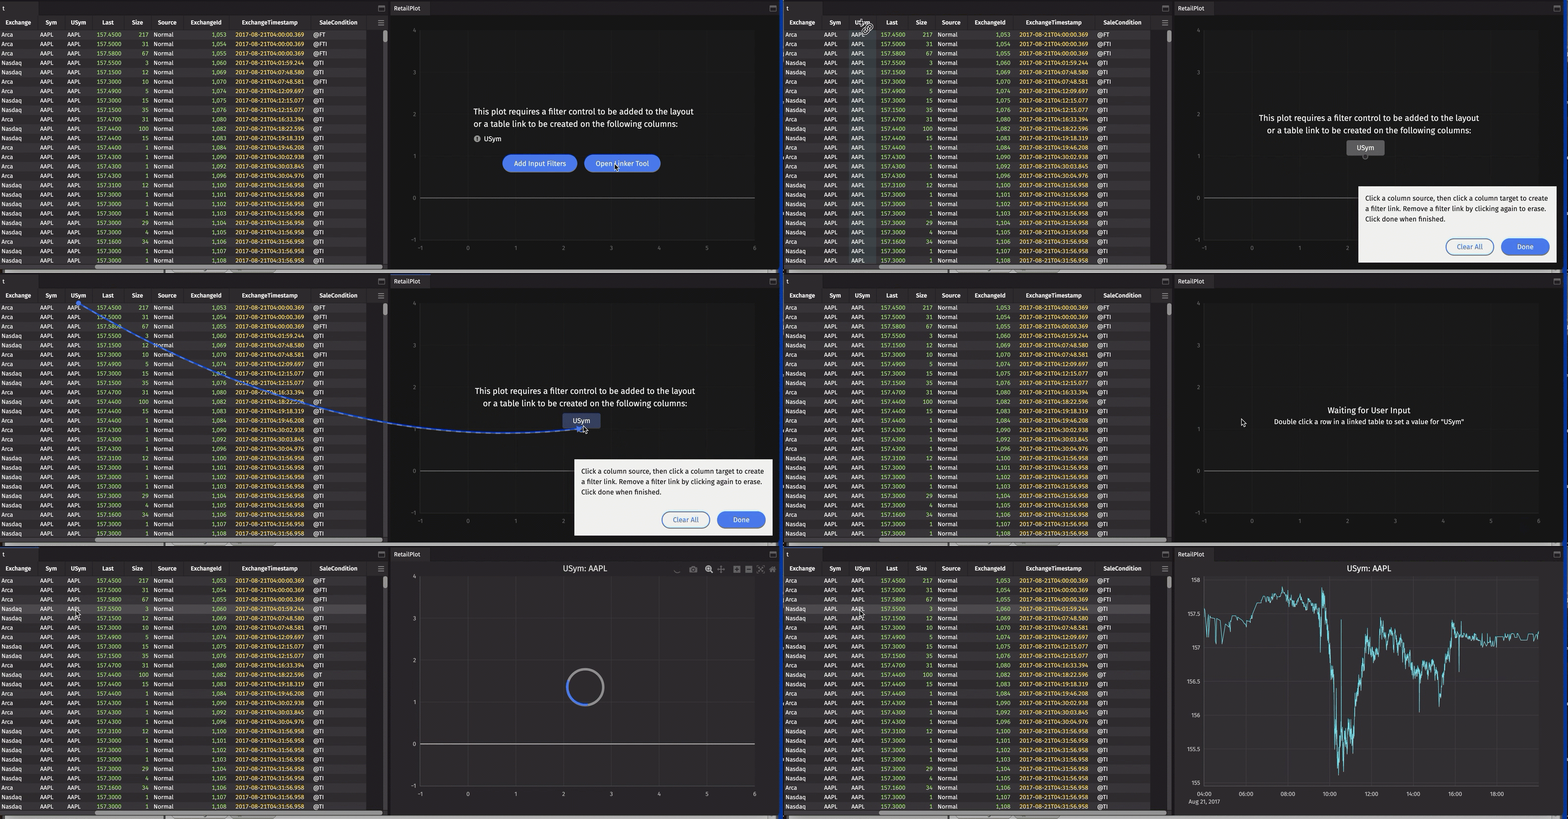
OneClick plots will not draw until a filter is applied. An Input Filter may be added from the Controls menu, or the button in the plot's panel:
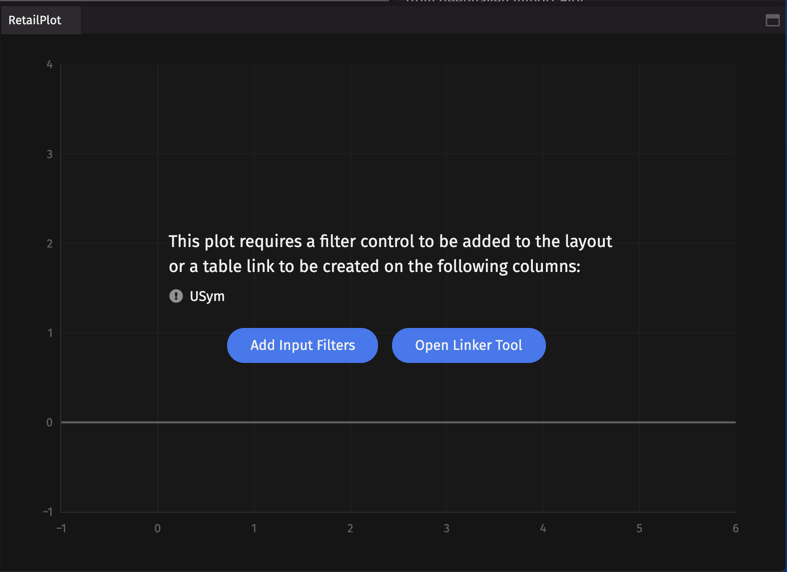
Note: You can also use the Linker tool. See Linker below.
As discussed above, the Input Filter will apply to all tables and plots open in the workspace.
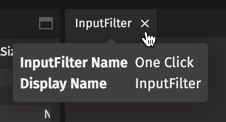
Closing the Input Filter panel removes all the associated filters from the workspace.
Markdown Widget
The Markdown Widget is a tool for including text (or images) in the Deephaven Web interface. These notes can include references to the queries running in a Dashboard; code snippets/explanations; instructions/comments; messages to customers, clients or coworkers; contact info, etc.
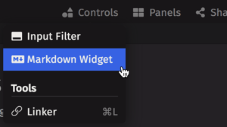
A Markdown Widget can be added to any Dashboard or Code Studio by selecting the Controls menu in the top navigation bar, and then selecting Markdown Widget in the drop-down.
Once a Markdown Widget has been added to the interface, its content can be edited by double-clicking in the panel.
Content contained in the widget can be styled using the Markdown syntax. Examples of this syntax follows:
|
Description |
Syntax |
Sample Output |
|---|---|---|
|
Heading Level 1 |
# Heading 1 Text |
Heading 1 Text |
|
Heading Level 2 |
## Heading 2 Text |
Heading 2 Text |
|
Heading Level 3 |
### Heading 3 Text |
Heading 3 Text |
|
Bold |
This is **bold text** |
This is bold text |
|
Italics |
This is *italic text* |
This is italic text |
|
Block Quote |
> This is a block quote |
▍This is a block quote |
|
Inline Code |
This is `inline code` |
This is |
|
Code Block |
The following is a code block: ``` groovy I am groovy code ```
``` python I am python code ``` |
The following is a code block: groovy I am groovy code
python I am python code |
|
Image |
or
|
|
Additional styling options are available in Markdown, including tables, links, lists, horizontal lines, etc. To learn more, please refer to https://www.markdownguide.org/basic-syntax/.
Saving, Re-opening and Deleting Markdown Widgets
Markdown Widgets are saved with the Dashboard or Code Studio in which they were originally created. If the Markdown Widget was open when the Dashboard or Code Studio is closed, the Widget will remain paired when it is reopened.
If the Markdown Widget was not open when the Dashboard or Code Studio was closed, it can be retrieved by selecting Markdown Widget from the Controls menu, and then clicking its name from the list presented under the Recently Closed heading as shown below.
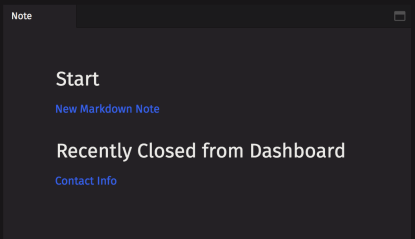
If you hover your cursor over the name of the widget in the Recently Closed list, the trash can icon will appear. To permanently delete the widget, click the trash can icon. You will be asked to confirm the deletion.

Tools
Linker
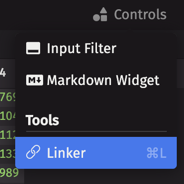
The Linker feature in Deephaven enables a user to interactively filter the content in one table based on the content selected in another table. The objects must first be "linked" with each other, with one table as the source and one or more as the target. When a cell in the source table is double-clicked, the respective columns in the target table are filtered to that value.
Note: This is equivalent to the Linked Views feature in Deephaven Classic.
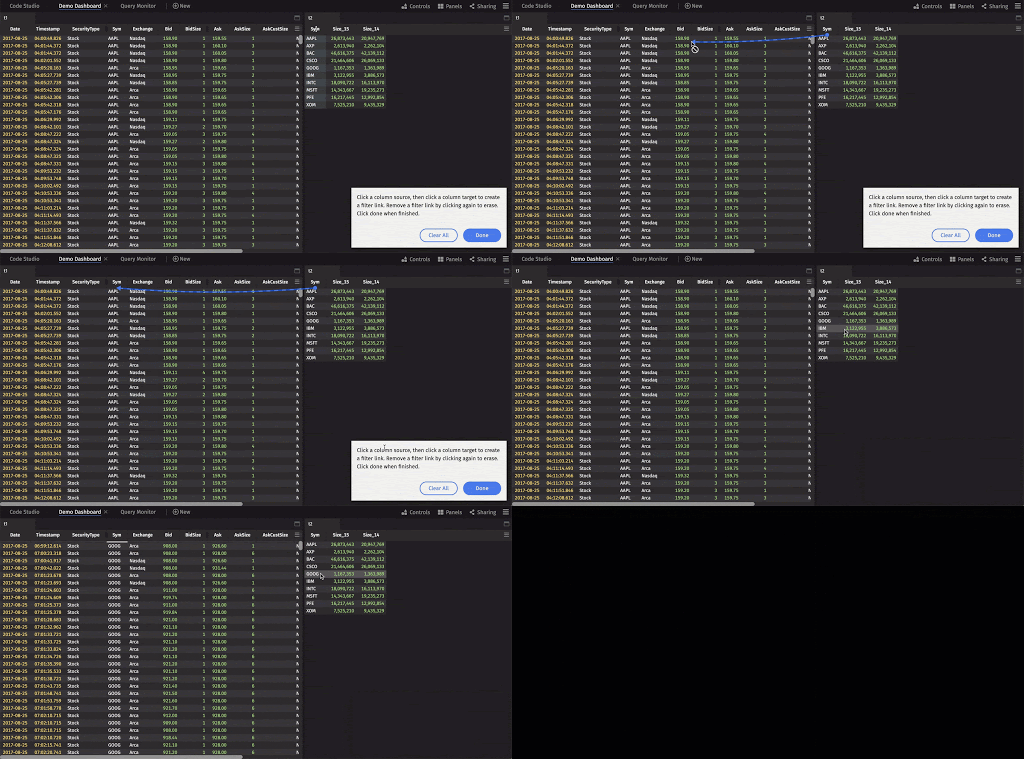
To use the Linker, select the tool from the Controls menu. The following instructions will appear in Deephaven:
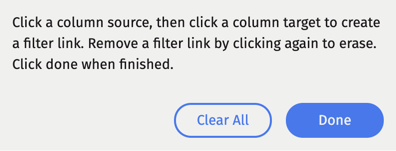
After you click a column source, an arrow will appear as you drag your cursor to your desired target. Note: the default (and only) operation is an equals filter.
Click Done to save your changes. In the example below, the Sym column in t2 (the source table) is being linked to the Sym column in t1 (the target table).

Now that the tables are linked, double-clicking on a row in the Sym column in t2 will automatically filter the contents of t1. As shown below, double-clicking on GOOG in the source table filters the target table to show only rows with the GOOG symbol.
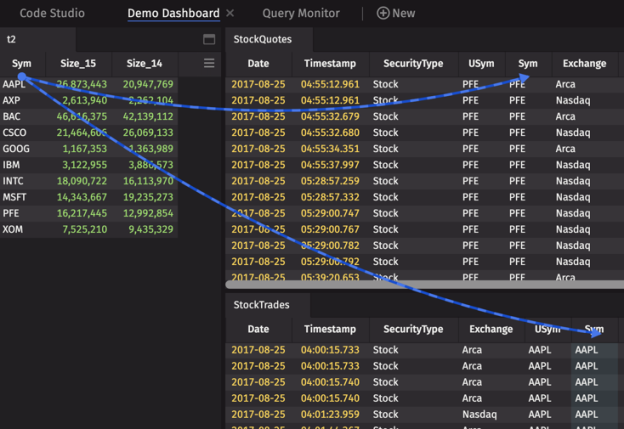
You can also link multiple tables at once, as shown below:
After you've linked tables, your selections are saved and will reopen to allow you to edit or clear the links when you access the Linker.
The Linker tool is also compatible with OneClick plots, which must be configured using the appropriate plotting methods.
To learn more, see: Plotting with OneClick.
Click Clear All to remove your links. Use the Remove All Filters or Remove Column Filter in the table context menu to restore the tables to their original state.
Last Updated: 16 February 2021 18:07 -04:00 UTC Deephaven v.1.20200928 (See other versions)
Deephaven Documentation Copyright 2016-2020 Deephaven Data Labs, LLC All Rights Reserved