Installation Guide for Users
Deephaven can be accessed using a client application installed locally on your machine, or by using a client application installed on a remote machine. To access your Deephaven installation using a remote client, please consult with your system administrator for the appropriate instructions. To access Deephaven using a local client, you will need to download and install the Launcher.
Installing the Deephaven Launcher
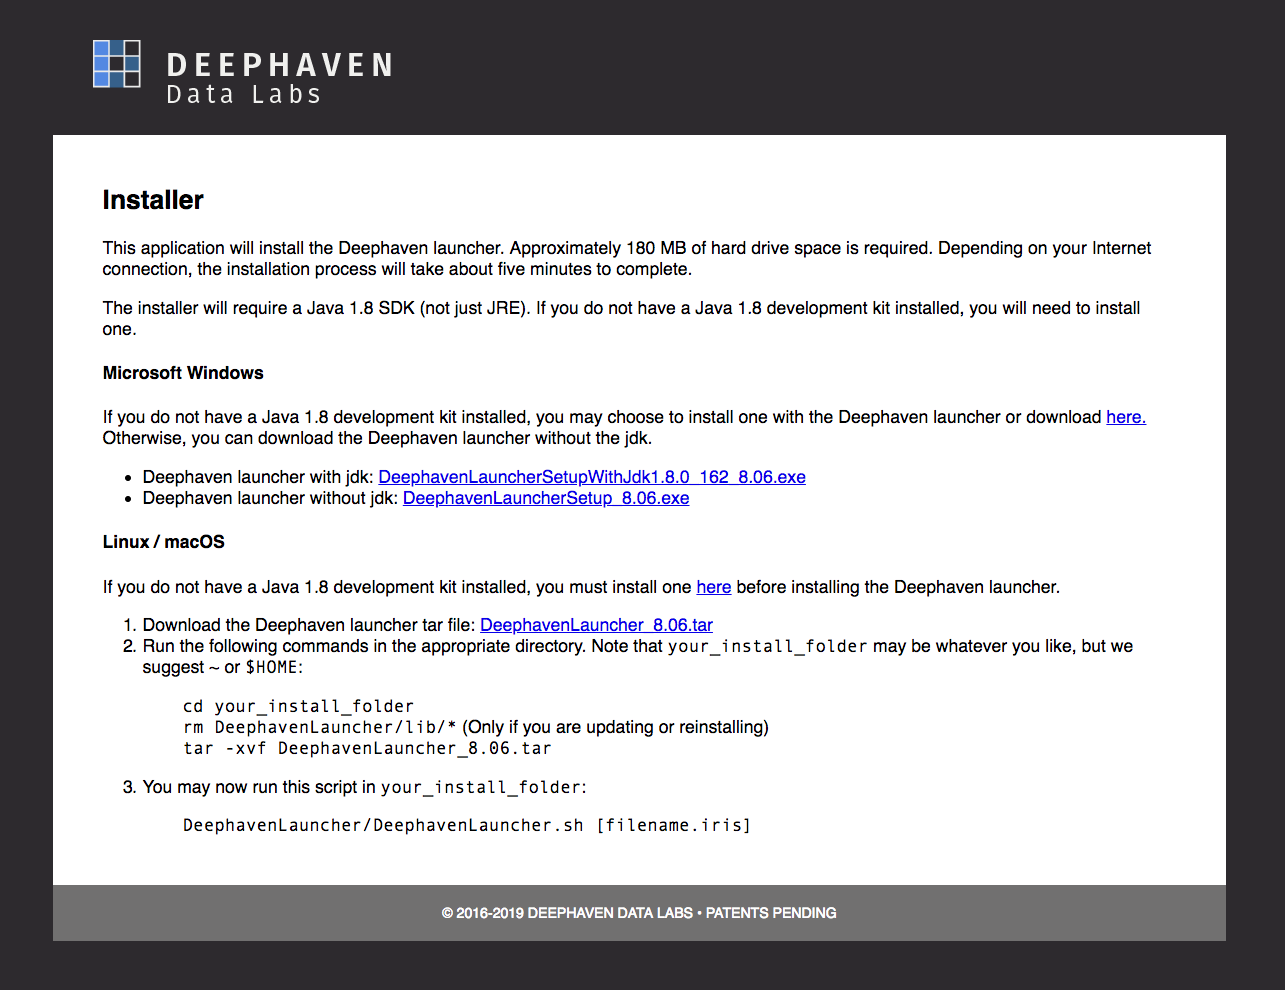
The Launcher is an application that enables you to run Deephaven on your computer. The installers for the Launcher application are available on a web page specific to your company's installation of Deephaven. Your system administrator will need to furnish you with the URL for that web page.
The image below is representative of the web page that will load when the URL is loaded.
 "
"
Follow the instructions shown on the web page to download the installer.
Installing the Launcher for Microsoft Windows
After executing the installer for Microsoft Windows, the Launcher Setup screen will appear.
Note: If you have previously installed Deephaven on your PC, a dialog window will open so you can either confirm the new installation/upgrade or cancel the installation.
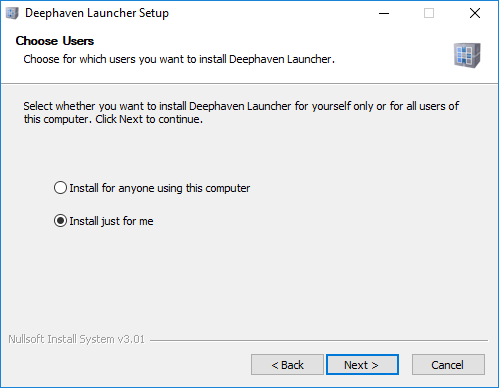
You will be given the option to install Deephaven for (1) anyone using this computer or (2) just yourself, as shown below.
If you choose "Install for anyone", please continue with the steps below. Otherwise, see the "Install Just for Me" section.
Note: If you intend to use Deephaven with a "Roaming profile" in Windows, please also refer to Installing the Deephaven Launcher for use with Roaming Profiles.
Install for Anyone Using this Computer
The next screen will ask you to specify the components you want to install.
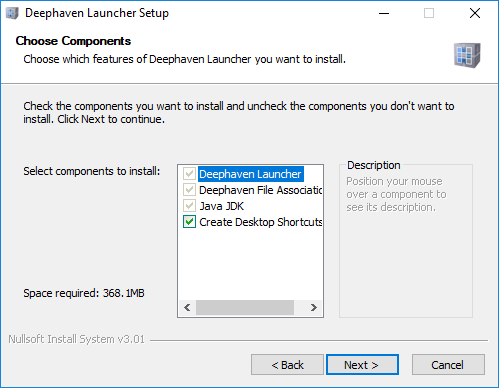
The components for the Launcher and the Deephaven File Association are automatically installed. The installer defaults to creating the Desktop Shortcuts for Deephaven. However, you can deselect this option if desired.
When you've completed your choice, click Next.
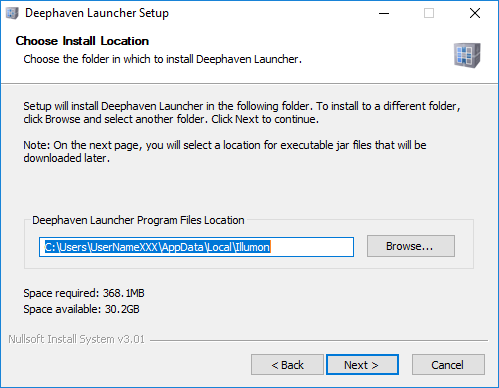
The next screen will ask you to select the folder into which the Deephaven Launcher will be installed.

The process will insert a default value in the Deephaven Launcher Program Files Location field. However, you can change this location by clicking Browse... and selecting a new location.
When you've determined your preferred location, click Next.
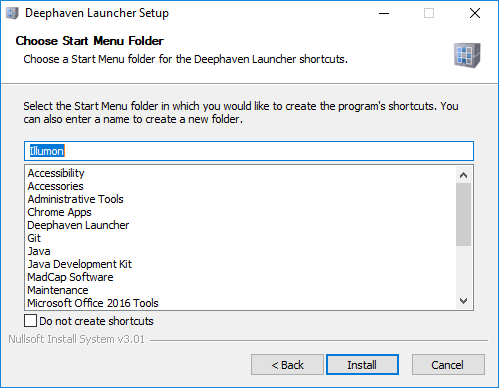
The next screen will ask you to choose the Start Menu Folder used to store the program shortcuts.
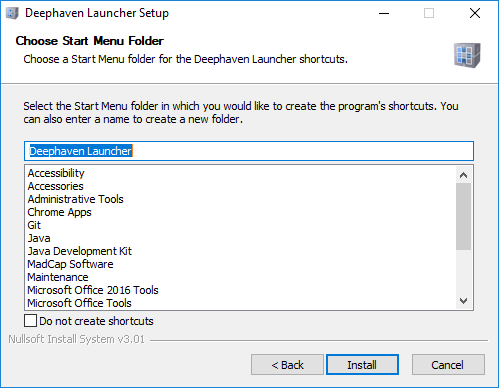
The Start Menu Folder name defaults to Deephaven Launcher, but you can select a different folder or create a new one. You can also select the Do not create shortcuts check box if you do not want any shortcuts created.
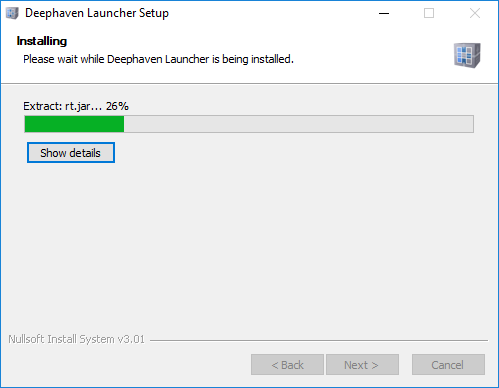
After making your selections, click Install. The Launcher Installer will show its progress until complete.
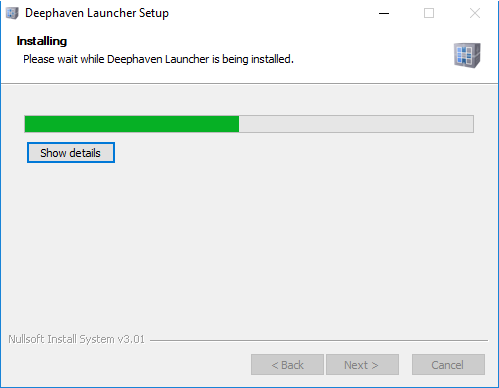
When the installation is complete, a confirmation window will appear.
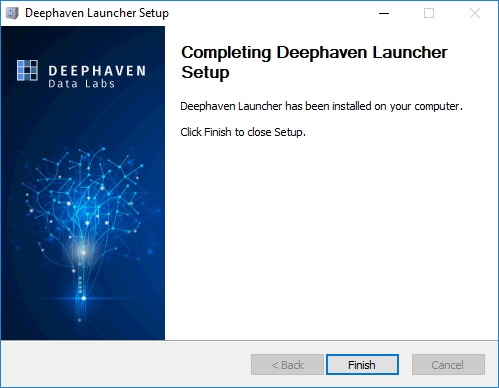
The final screen will tell you the Deephaven Launcher has been installed. Click Finish to complete the task and exit the installation process.
Install Just for Me
After you have selected "Install for anyone", the Choose Components dialog will open, as shown below.

The components for the Launcher and the Deephaven File Association are automatically installed. The installer defaults to creating the Desktop Shortcuts for Deephaven. However, you can deselect this option if desired.
When you've completed your choice, click Next.
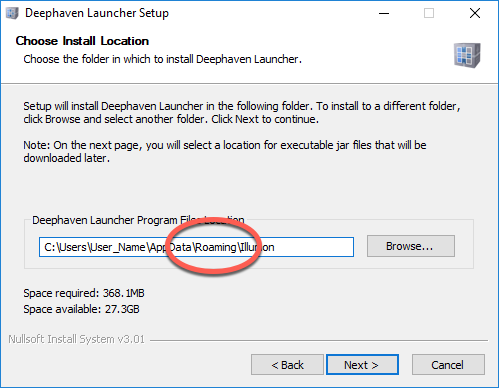
The next screen will ask you to select the folder in which the Launcher will be installed.
The process will insert a default value in the the Deephaven Launcher Program Files Location field.. However, you can change this location by clicking Browse... and selecting a new location.
When you've determined your preferred location, click Next.
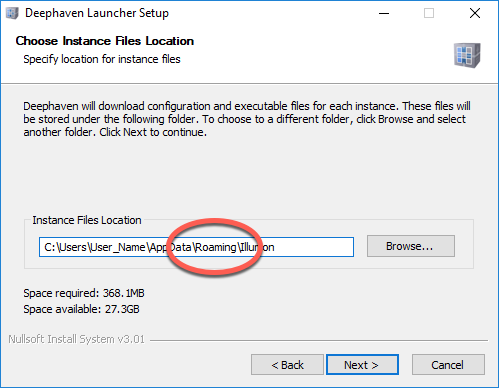
The next screen will ask you to select the folder for storing the Deephaven instance files.
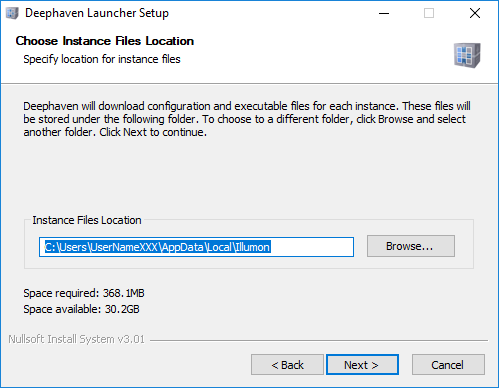
When you've determined your preferred location, click Next.
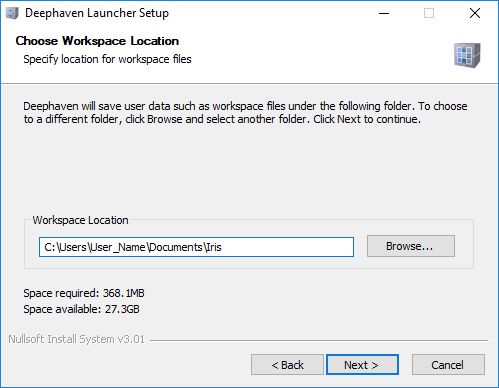
The next screen will ask you to select the folder for storing the Deephaven workspace files.
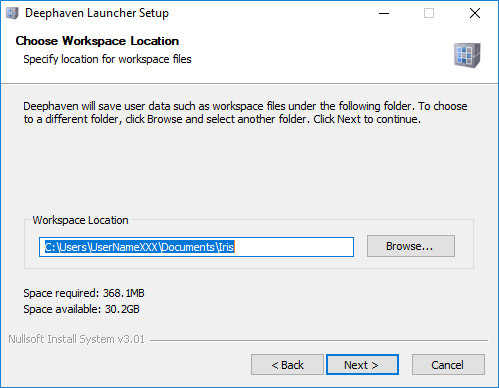
When you've determined your preferred location, click Next.
The next screen will ask you to select the Start Menu Folder for Deephaven.
When you've completed that step, click Next. The Launcher Installer will show its progress until complete.
On the final screen, you can accept the default and run the Launcher immediately after clicking Finish, or you can deselect the option by deselecting the check box.
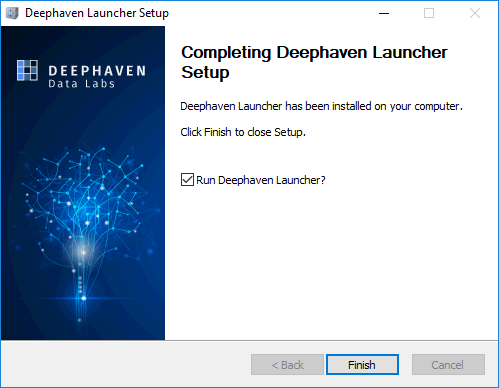
Also, if you selected Create Desktop Shortcuts in the earlier step, the Launcher icon will now be added to your desktop.
See Configuring the Launcher for further instructions about configuring the Launcher.
Installing the Deephaven Launcher for use with Roaming Profiles
Note: Support for "Roaming profiles" is intended to support users who log in to Deephaven using different machines or virtual desktops at different times during the course of a day, and then need their Deephaven Launcher installation, instances, and workspaces to synchronize automatically to those different individual login sessions. It is not intended for use where the same user profile is used and/modified on multiple sessions running concurrently. Such concurrent modifications of Deephaven client configuration will likely result in Roaming profile synchronization failures and/or "last-in-wins" scenarios.
As discussed previously, there are two options when installing the Deephaven Launcher: "Install for anyone using this computer" or "Install just for me". These options are presented when running the Launcher Installer, as shown below.

When installing the Deephaven client for use with Roaming profiles, the "Install just for me" option should be used because it allows the user to change where configuration files are to be stored. These file locations are further detailed below.
There are three paths configured during the Deephaven Launcher installation.
- Program Files Location: The first is the path for the Launcher executable files. Changing this to use the Roaming path makes the Launcher executable available automatically on any system where the user can log on with their Roaming profile.
- Instance Files Location: The second path is for the Deephaven Instance Files Location. The Instance contains information about connectivity to Deephaven servers, stores the JAR files needed to run the client, and stores the Log files. The JAR files usually make up the largest part of the Deephaven client. The JAR files use between 90 and 100 MB of storage, which is added to the size of the user's Roaming profile.
- Workspace Location: The third path stores user Workspace information. By default, Workspace files are stored under the user's Documents path, and the Documents path is normally part of the user's Roaming profile, so for most installations, the default path can be used for Roaming users as well as those with Local profiles.
Installing the Launcher for macOS and Linux
Command Line Options for Installing the Launcher for macOS and Linux
- Download the following tar file and extract it to an appropriate directory.
Files will be extracted to a folder named DeephavenLauncher.cd your_install_folder/ rm DeephavenLauncher/lib/*; tar -xvf DeephavenLauncher_8.04.tar - Run the following script in the directory where the Deephaven Launcher was installed:
your_install_folder/DeephavenLauncher/DeephavenLauncher.sh
For macOS users who are not as familiar with command line operations, you can also double-click the DeephavenLaucher<v#>.tar file to extract it. Then drag the DeephavenLauncher folder to your Documents folder, or to whatever folder you might prefer.
You can then create a Desktop (or Dock) shortcut icon to launch Deephaven. This is accomplished by using the Apple Automator utility to create a custom "workflow application" . The steps to do so are explained below.
Create the Workflow
- Launch Automator from your Applications folder. If Automator doesn't open the window automatically, select New in the File menu.
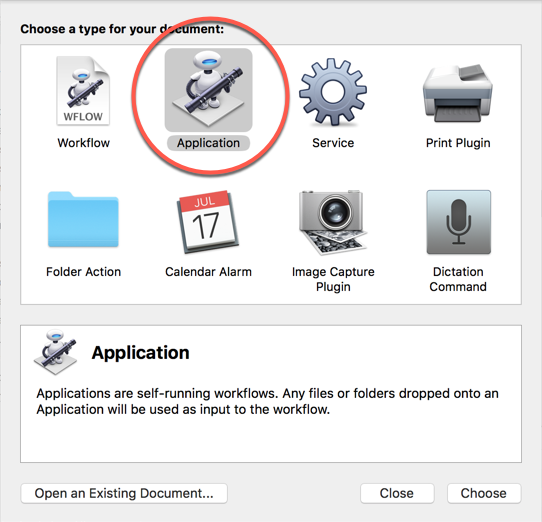
- Select Application from the options presented and then click Choose.
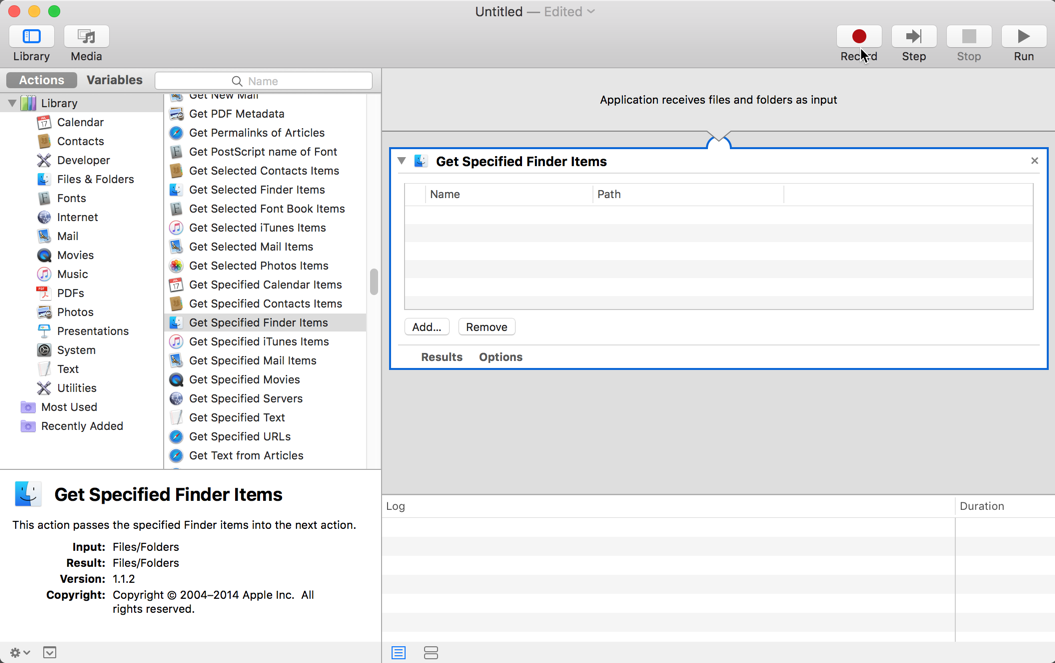
You will be then be presented with dialog showing the Actions library and its corresponding list of available actions. - From the list in the second panel, scroll down and select the Get Specified Finder Items action. Double-click Get Specified Finder Items or drag the item into the workflow panel to the right.
- Click the Add button, and then navigate to the previously installed DeephavenLauncher folder on your system.

- Locate and select DeephavenLauncher.sh, then click Add.

The DeephavenLauncher.sh file should now be listed in the Get Specified Finder Items panel in Automator. - Select Utilities from the Library list in the left panel. Then select Run Shell Script in the adjacent panel. Double-click Run Shell Script or drag the item into the workflow panel on the right.
- Type the following into the shell script window, being careful to insert the correct file path for your respective installation:
<YourFilePathHere>/DeephavenLauncher.sh
An example of this is shown in the screenshot below.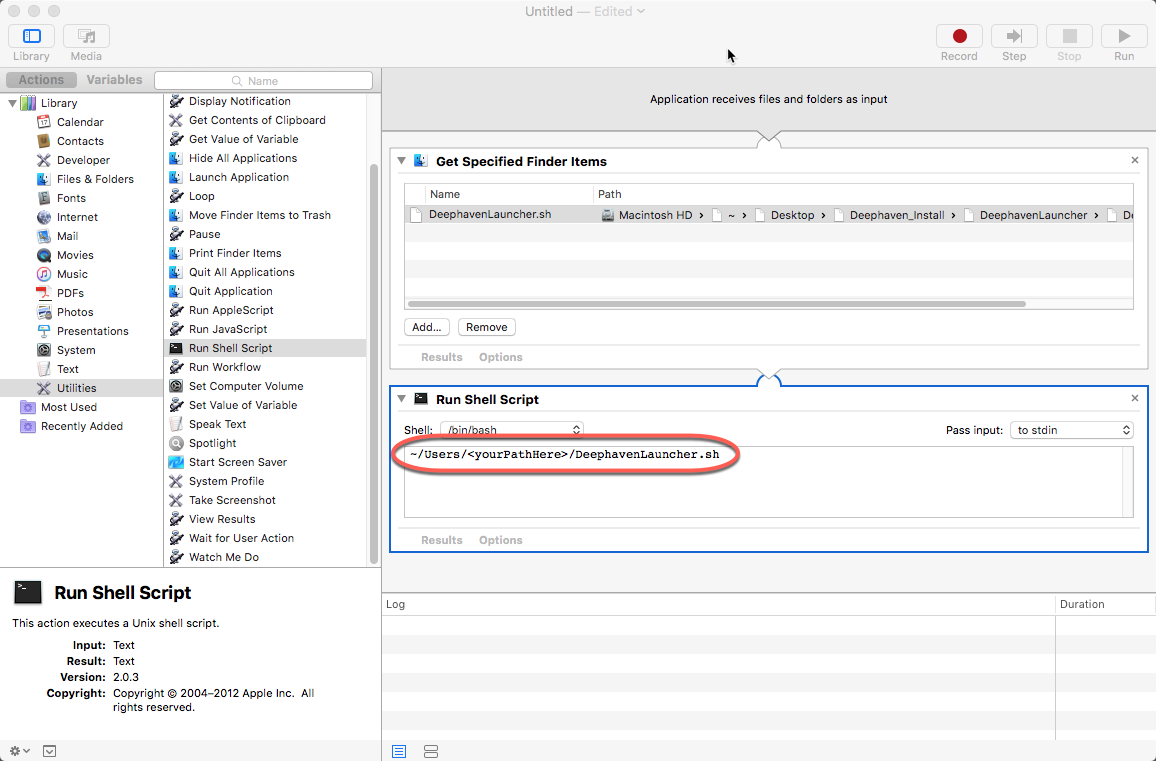
- Click the Run button in the top right corner of Automator. A dialog box with the following warning will appear: 'This application will not receive input when run inside Automator.' Disregard the warning and click OK.
- The Automator window will confirm your workflow has completed, and the Deephaven Launcher window will open.
Save the Custom Workflow
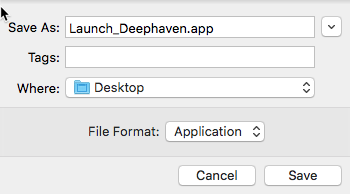
To save this custom workflow, return to the Automator window and select Save from the File menu. Enter an appropriate name for the "app" and select a suitable file location. Then click Save.
The example below shows Launch_Deephaven.app being saved to the Desktop:
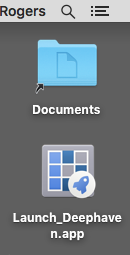
An icon named Launch_Deephaven.app appears on the Desktop, as shown below.
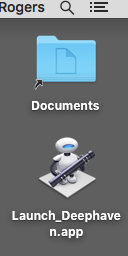
This application icon now behaves like any other Mac application icon. You can drag it to your Applications folder, to your Dock, or any other folder on your system. You can also right click on the icon and select Make Alias.
Changing the Icon
You can leave the application icon as created. However, you can also replace the Automator application icon with an icon specifically designed for Deephaven. The process is described below.
- In the Finder, locate and open the DeephavenLauncher folder. Within that folder, find and open the lib folder. Double-click the file named IllumonLauncher.ico. The image should then open in Preview.
- From the Edit menu in Preview, select Select All, then Edit > Copy. You can now close the Preview window.
- In Finder, find the Automator workflow file you just created in the previous process. Right-click on the icon and select Get Info from the context menu. An example of the Get Info window is shown below.
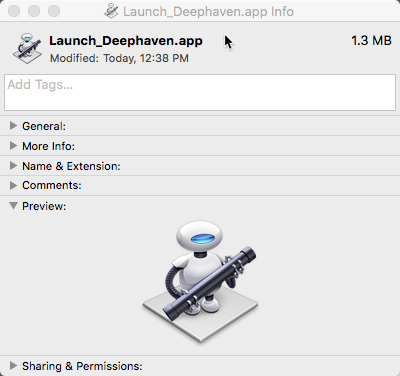
- Select the picture of the existing icon in the top left corner of the window. Once you have clicked the icon, it will be highlighted, as shown below

- From the Finder File menu, choose Edit > Paste to load the previously copied file from your clipboard.
- The new Deephaven icon will replace the previous icon, as shown below.
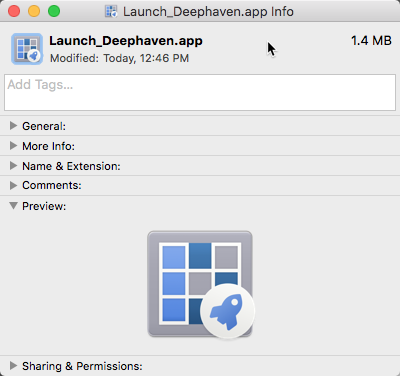
The new icon will also be used anywhere else you may have copied the icon previously, including the Desktop, Dock or any other folder, and in any aliases previously made. Examples follow:

You can now click the Deephaven icon to launch Deephaven.
See Configuring the Launcher for further instructions about configuring the Launcher.
Configuring the Launcher
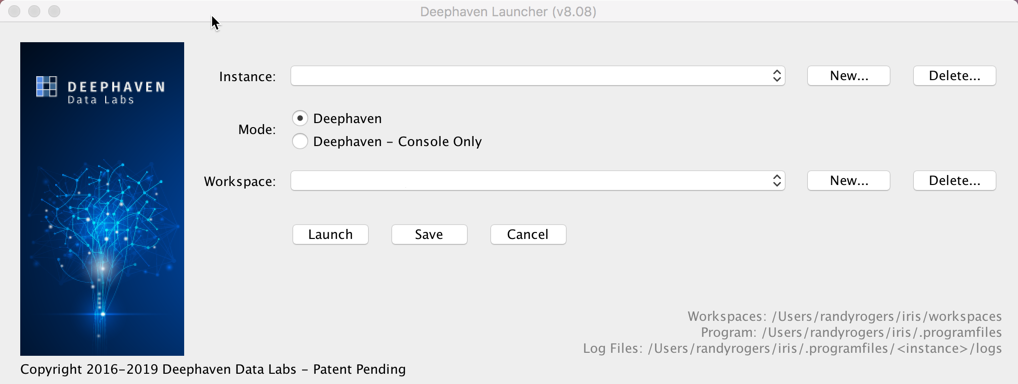
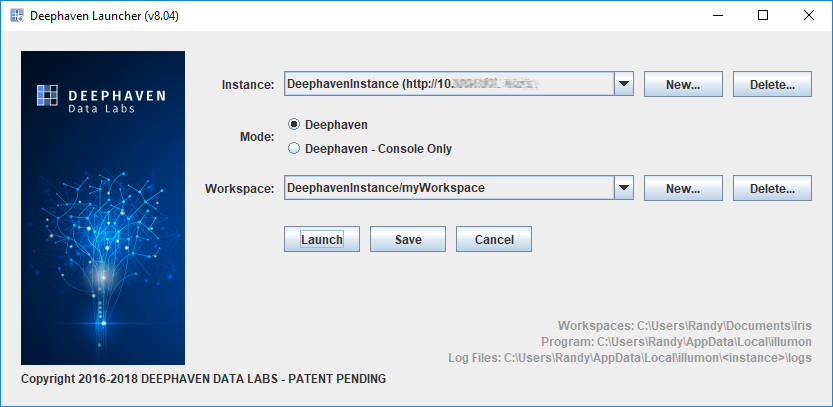
After the previously described installation procedures have completed, the Launcher will be open. If it is not, you can access the Launcher on Windows through the Start Menu or the Launcher shortcut on your desktop.
A screen similar to the following will open the first time you run the Launcher.
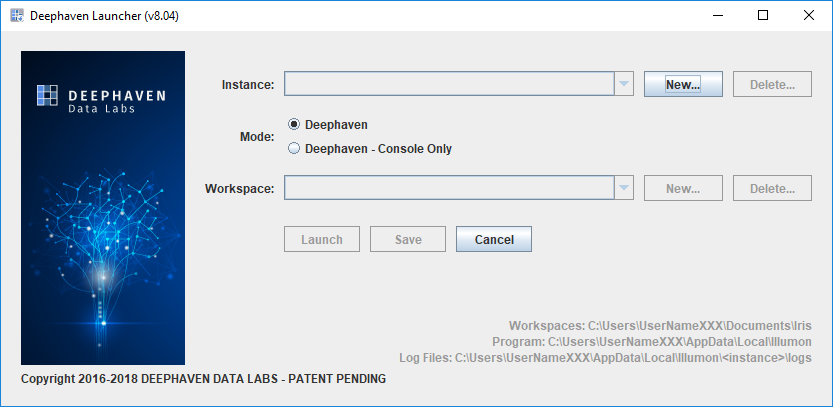
Your first task will be to create a New Instance.
Instance
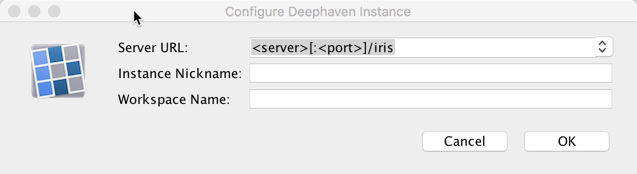
When you first run the Deephaven Launcher, you will need to create a new Instance in which to run Deephaven. To do so, click the New… button located to the right of the Instance field. The following dialog window will open:
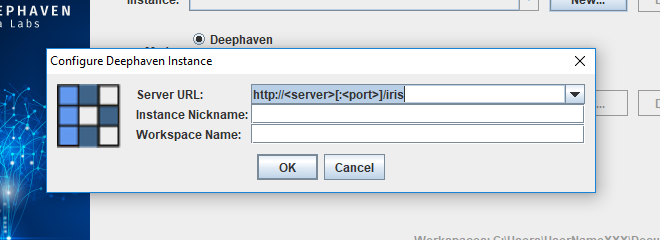
In the Server URL field, you will need to enter the Server URL established by your system administrator. In most cases, this is the same URL you were provided to download the Launcher installation files.
The Instance Nickname is a required field. Please enter an appropriate nickname for this instance. (E.g., DeephavenInstance)
Multiple Workspaces can be created for each instance. Please enter an appropriate nickname for the Workspace. (E.g., myWorkspace)
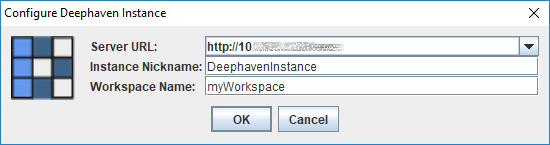
When you've completed the configuration process, click OK.
.png)
If you have entered a valid credentials, Deephaven will then connect to the server. The Instance and Workspace fields will show the respective nicknames selected in the previous step.
Note: If the Server URL entered is not valid, an error message will appear and the Launcher will not be able to connect. Please check and re-enter the URL entered. If that does not work, contact your system administrator.
Mode
Deephaven can run in two different modes: Deephaven and Deephaven Console-only.
- Deephaven: This mode is the "full" version of Deephaven. When Deephaven opens in this mode, every applicable feature and user function is presented in the user interface.
- Deephaven – Console Only: This mode includes only the console portion of Deephaven. It uses the same query language, offers the same analytical engine, and provides the same performance. However, the console-only mode provides users with the option to work with Deephaven without the extra features of the user interface.
Workspace
If you selected a Workspace name when entering or changing your instance, that Workspace name will now be presented in the launcher window. However, you can create multiple Workspaces. To do so, click the New… button to create one. A dialog window will open with a field in which you can type your new Workspace name.
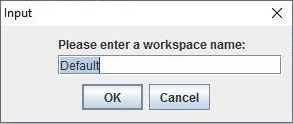
Type the Workspace name desired and click OK.
After you have completed the steps for creating an instance, selecting the mode and/or naming your workspace, you can either Launch Deephaven, Save the configuration, or Cancel out of the launcher entirely.
Launch
After selecting Launch, you will be presented with an Authentication Required dialog window similar to the following:
The initial User Name and Password is 'iris' and 'Illumon1' respectively. However, your system administrator may have changed it. When you click OK, Deephaven will open using the Instance and Mode selected earlier.
Saving a Configuration
If you select Save, a new dialog window will open, which will ask you for the file name and the location you'd like to store the file.
If the mode you selected was Deephaven, the filename will default to the name of the instance followed by a hyphen followed by the name of the workspace, and the file suffix will default to .iris (e.g., Deephaven-MyWorkspace.iris)
If the mode you selected was Deephaven Console-only, the file name will default to the name of the instance followed by a hyphen followed "console". The file suffix will default to .irisconsole (e.g., IrisProduction-console.irisconsole)
You can change the file name if desired, but you should not change the file suffix.
Cancel
If you select Cancel, the Launcher will close.
For more information about the location of Deephaven files after installation, see Installation Location Information.
Accessing Deephaven after Installation and Configuration
After the installation and configuration of the Launcher has been completed, you can easily open the Deephaven Launcher by double-clicking the Launcher icon (see: Icons). Note: If you have already saved one or more configurations (see: Saving a Deephaven Configuration), you can also double-click the respective icon for one of those configurations. On Windows-based PCs, the Launcher can also be selected from the list of available programs shown in the Windows Start Menu (or Start Screen) .
After the Launcher opens, you will need to choose from existing Instance/Workspace options or configure a new Instance/Workspace. Once that is complete, click Launch.
When launching Deephaven in the manner described above, your client application is automatically updated with the appropriate JARs and configuration files to ensure synchronization with the version of Deephaven currently deployed by your enterprise.
In addition, the Deephaven application will check for updates periodically while it is running. If it is determined that the client application is no longer current, the following notification window will be presented:

Clicking OK will dismiss the notification. However, the following notice will then be presented at the top of your console until you restart:

Working in Deephaven when the client application is not synchronized with the server is not advised. The application may appear to function correctly, but there are unpredictable and difficult-to-diagnose problems that can ensue. Therefore, you are strongly encouraged to restart and synchronize Deephaven as soon as possible.
If you use Deephaven without running the Launcher (e.g., when using R or Python), the automatic update/synchronization process does not occur. To ensure the synchronization process occurs, you will need to run the following commands on the Command Line:
cd <launcher install location>
# the following opens Deephaven with the Instance name shown in <instanceName>
java -cp * com.illumon.iris.bootstrap.IrisConfigurationUpdater <instanceName>
Alternative commands follow, which include further authorization parameters:
# this option automatically enters the <CUSUserName> and <CUSPassword> appropriate your installation
java -cp * -DClientUpdateService.cusUser=<CUSUserName> -DClientUpdateService.cusPassword=<CUSPassword> com.illumon.iris.bootstrap.IrisConfigurationUpdater <instancename>
# this option automatically enters the appropriate AuthString value, which can be generated on macOS or Linux using: echo -n "<CUSUserName>:<CUSPassword>" | base64 -i -
java -cp *-DIrisConsole.cusAuthString=<authStringValue> com.illumon.iris.bootstrap.IrisConfigurationUpdater <instancename>
This program returns 0 if successful. If it does not, the update failed.
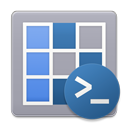
Icons
|
|
|
|
|
|
|
|
|
The Deephaven Launcher Installer |
The Deephaven Launcher |
The Deephaven Application |
The Deephaven Application for running in Console-only mode. |
A file saved with the mode set to Deephaven |
A file saved with the mode set to Deephaven – Console Only. |
The Deephaven Launcher Uninstaller |


System / Software Requirements
The Deephaven client is an application created primarily in Java. As such, it can operate on many different operating systems and devices. Recommendations follow:
- Minimum Hardware Recommendations
- CPU: 2.0+ Ghz single-core
- RAM: 4+ GB
- Disk Space: 150 MB
- Operating System Requirements
- Windows 7+
- Mac OS X 10.2+
- Linux: Any 64-bit, kernel version 2.6+
- Software
- Java 1.8 or newer
Last Updated: 25 February 2020 08:26 -05:00 UTC Deephaven v.1.20200121 (See other versions)
Deephaven Documentation Copyright 2016-2020 Deephaven Data Labs, LLC All Rights Reserved